|
The Terminal Panels
|
-
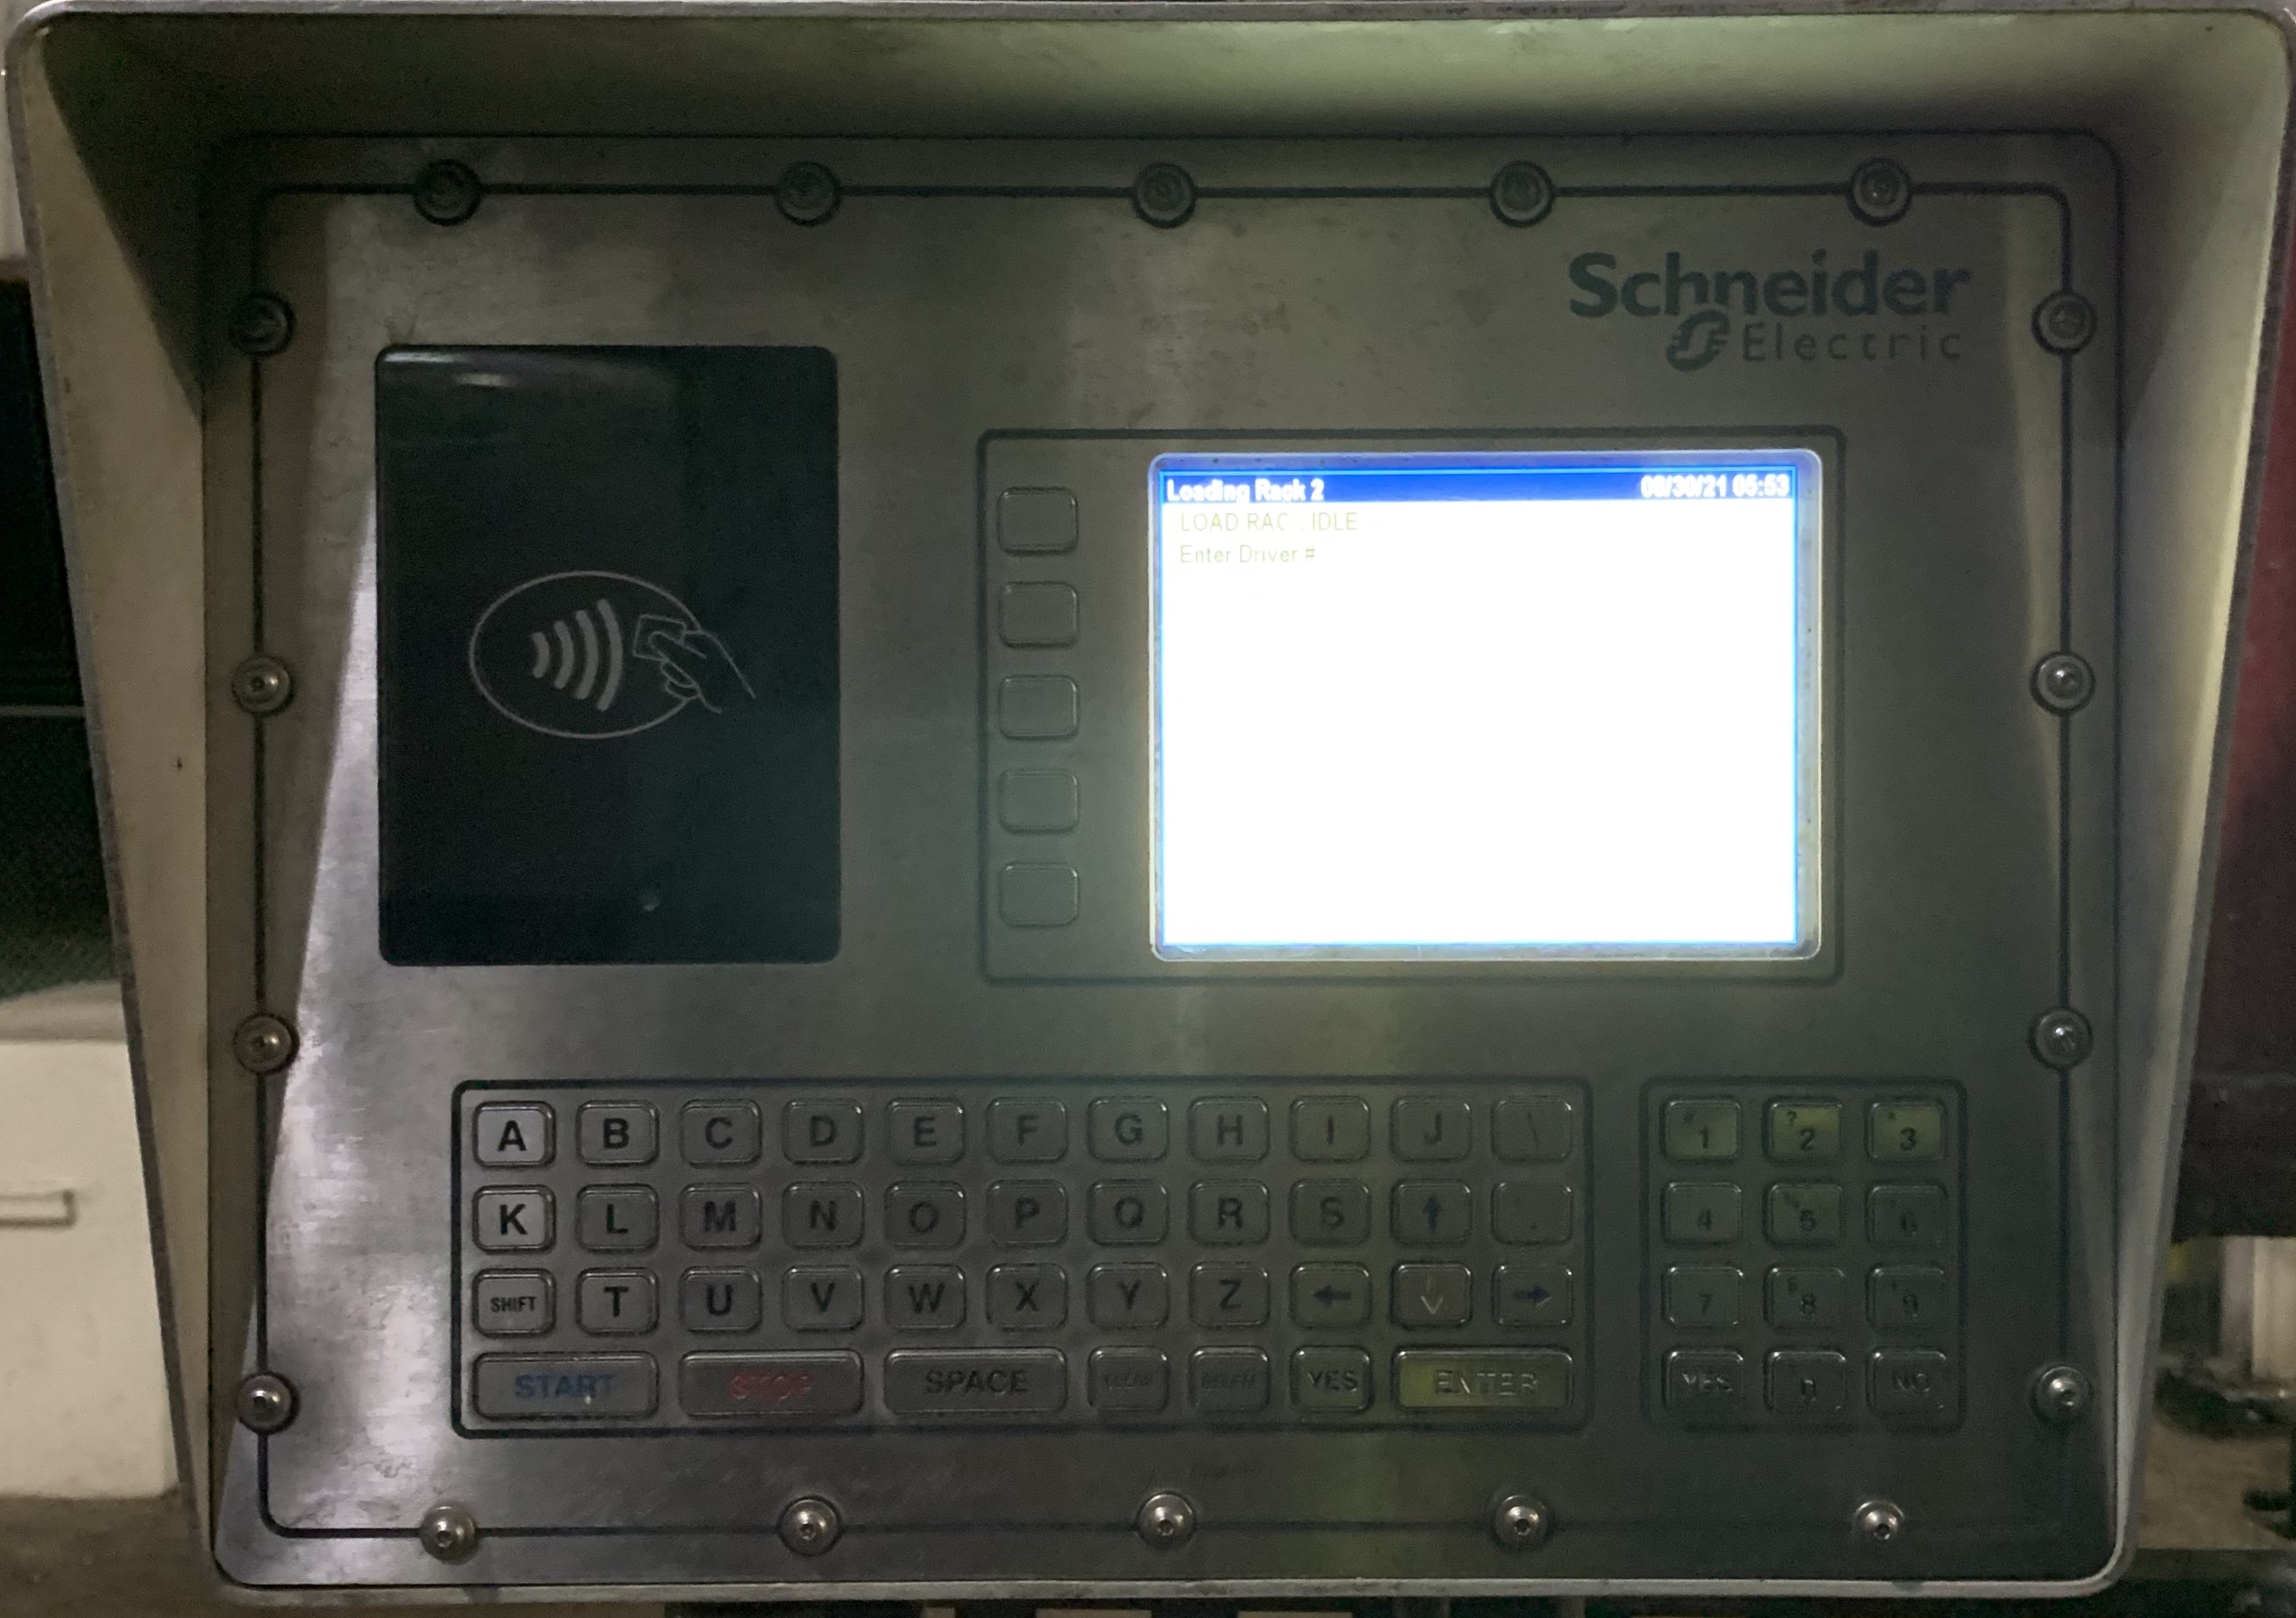
The Schneider Terminal Panel
Grades
91,
87E10,
91E10,
93E10,
20%DC
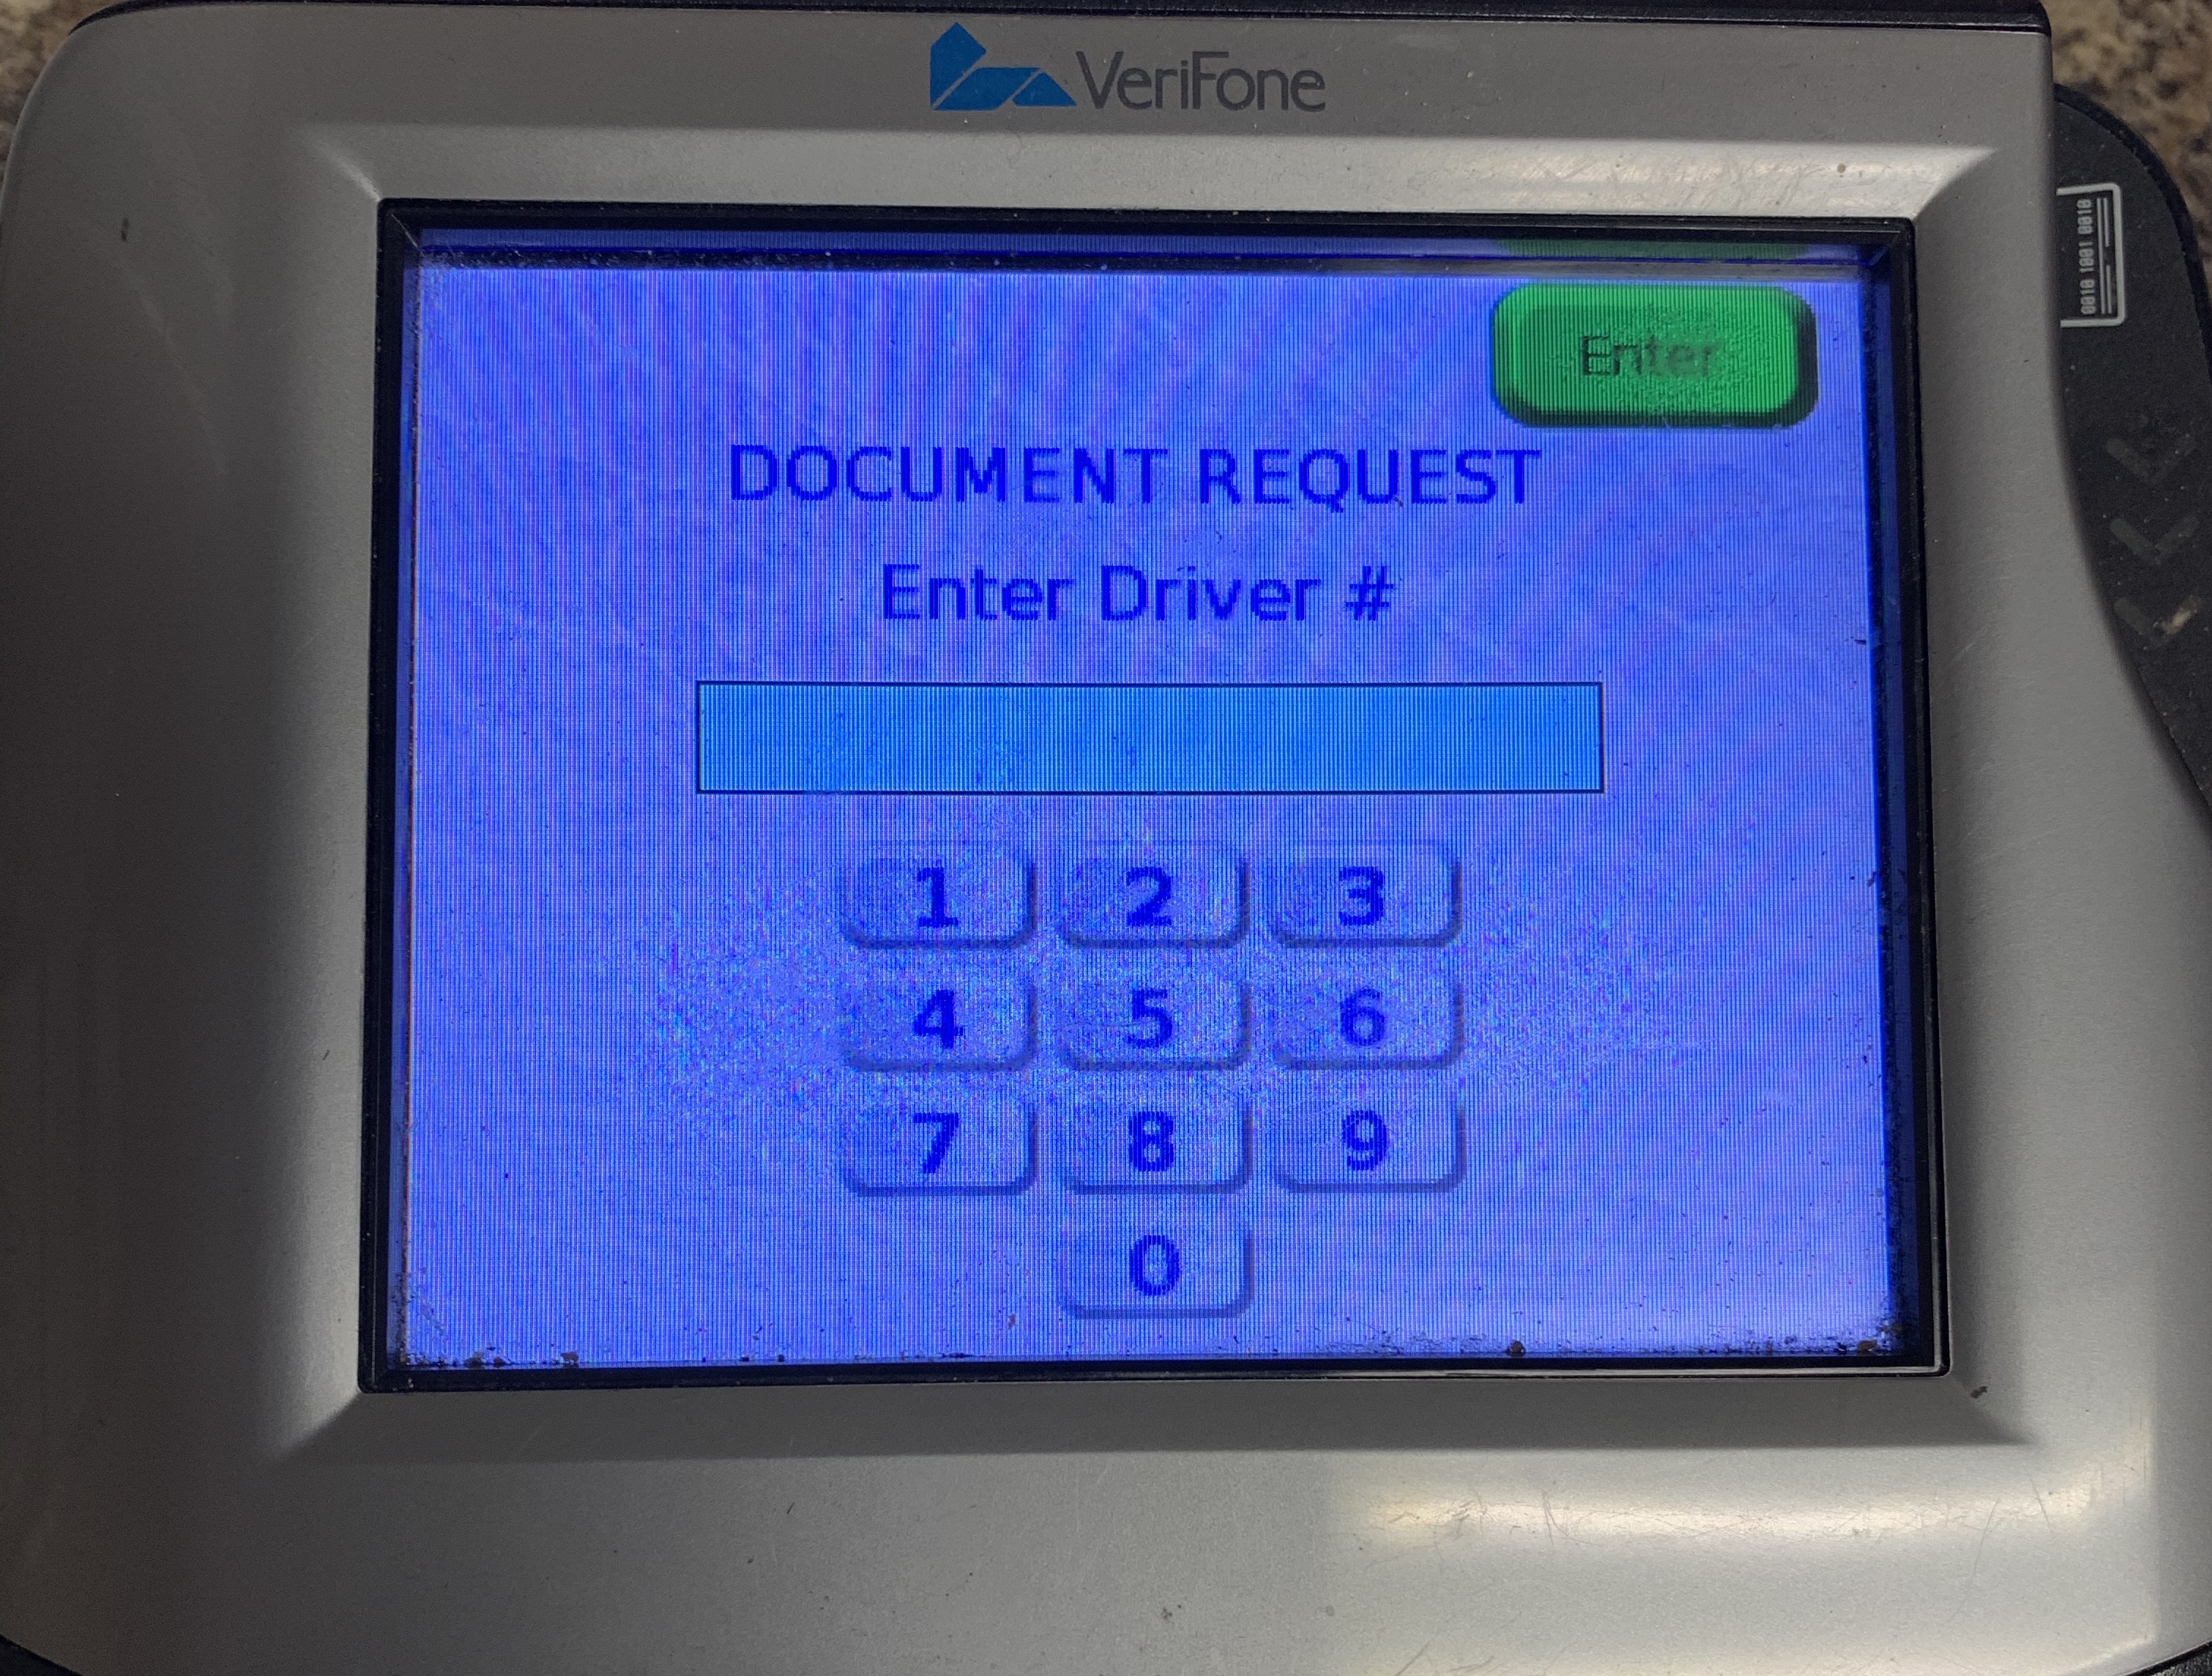
- Enter Driver #
- Enter Pin #
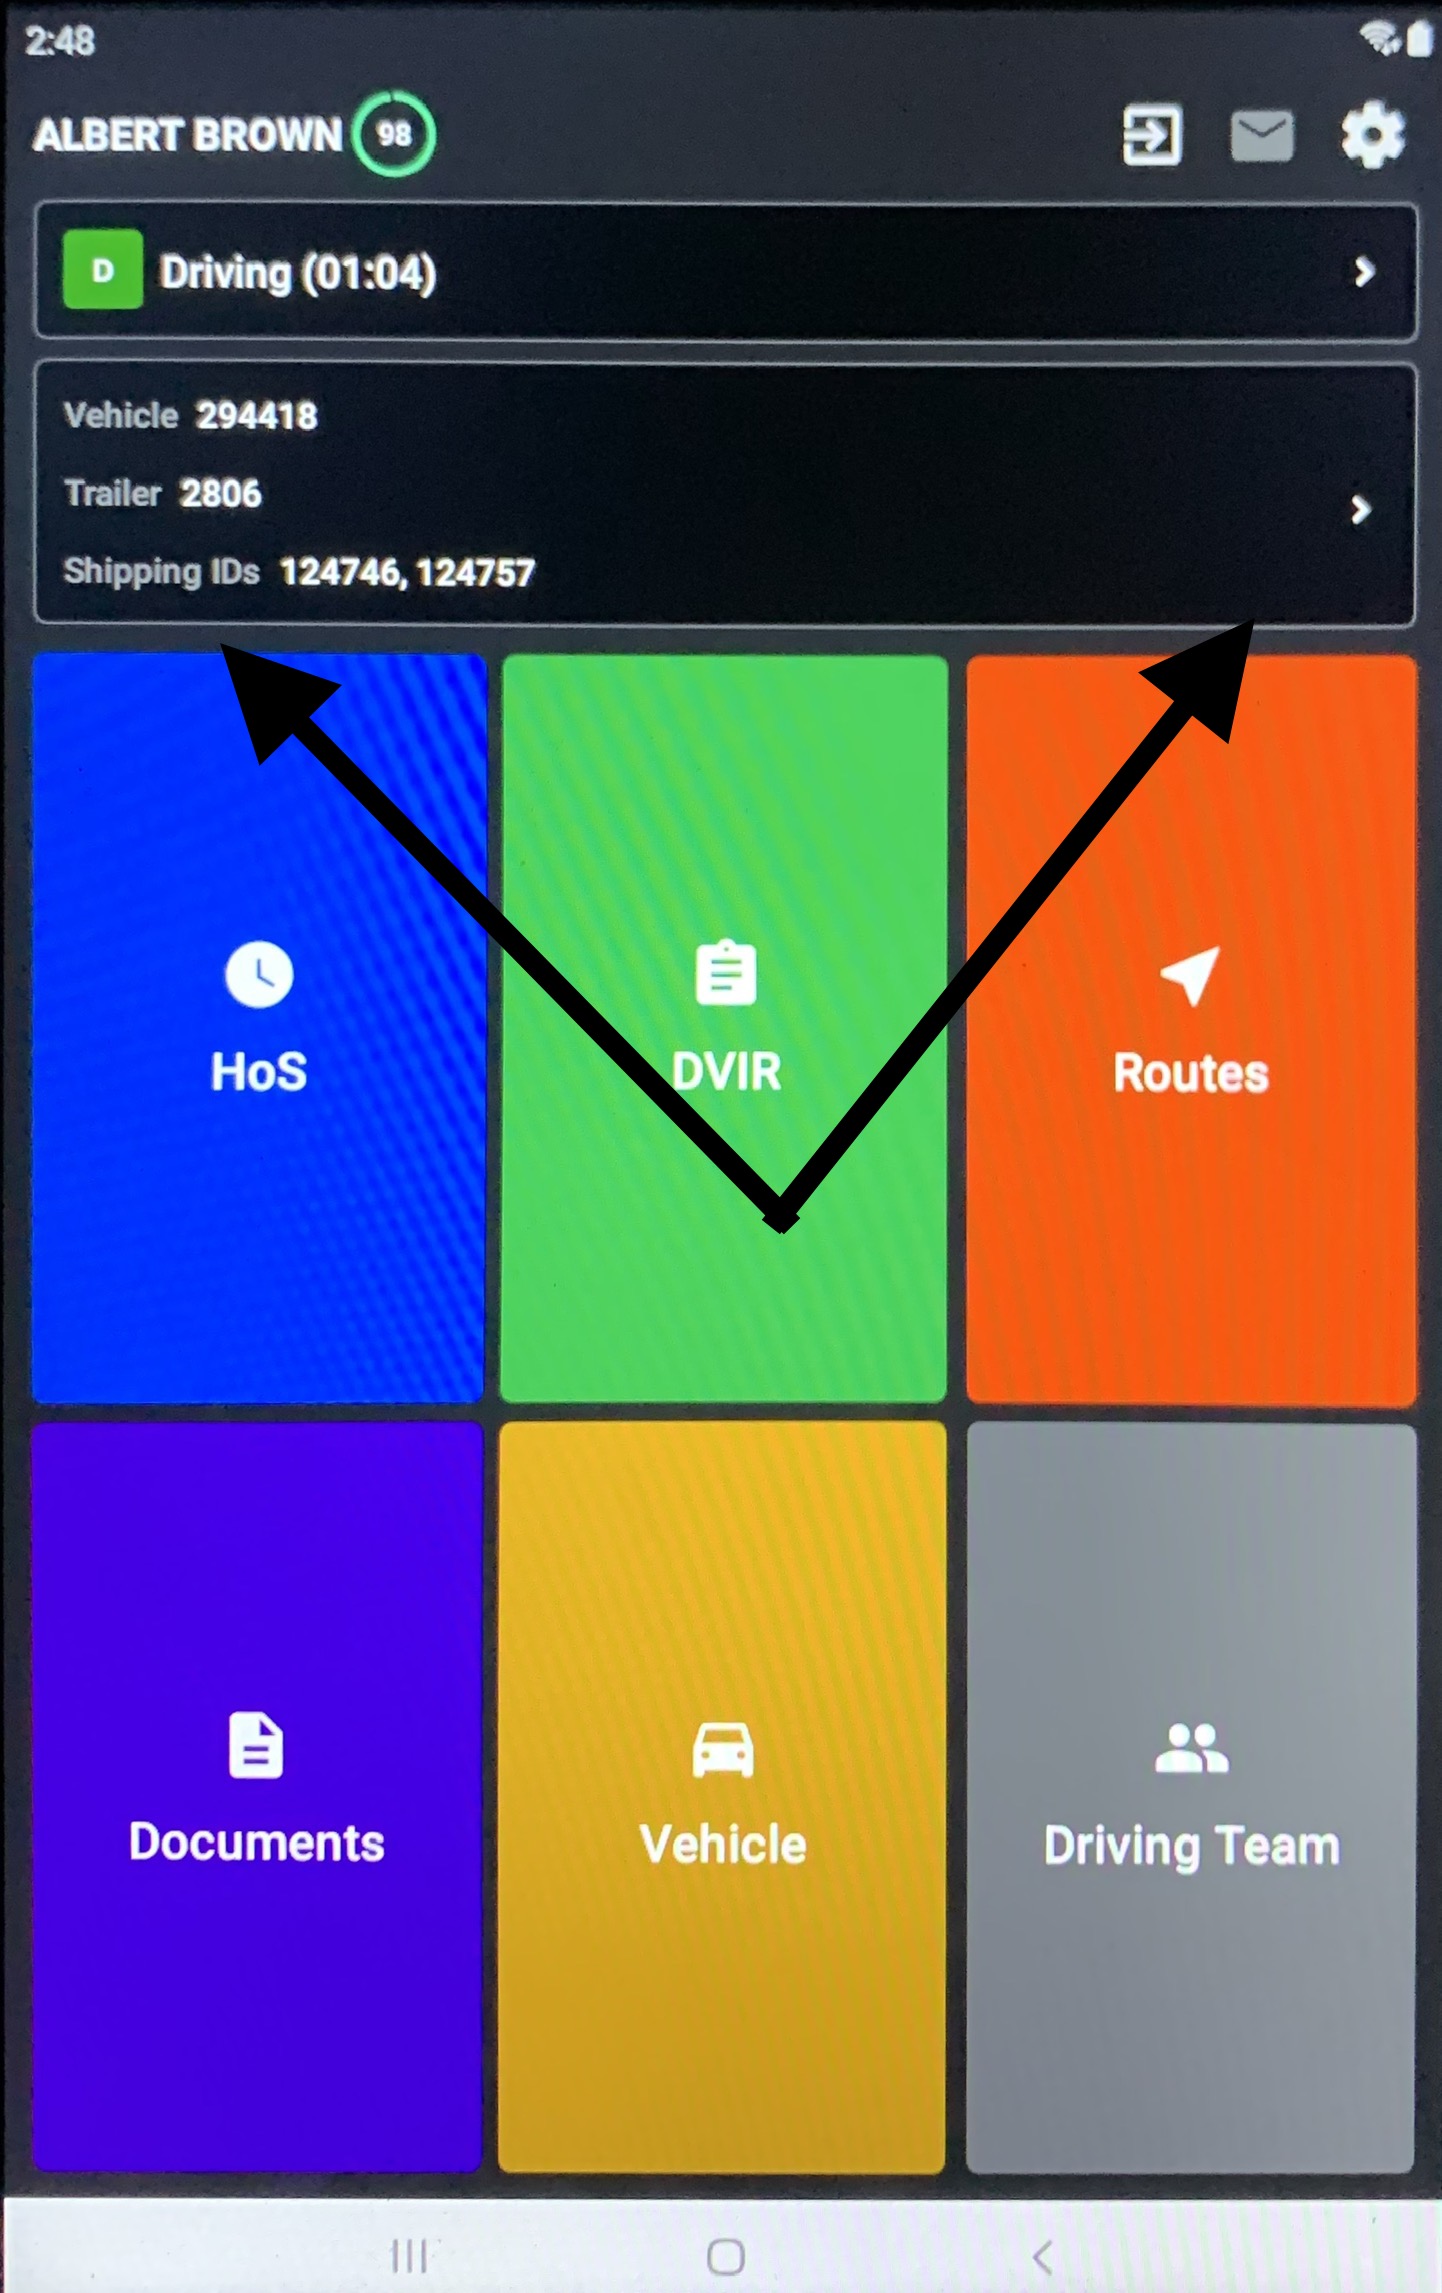
- Enter Trailer #
- Select Retail
Second Murphy
- Select Destination
- Add Another = No
- Select Arm
- Select New Batch
- Select Compartment #
- Enter Gallons
- Select Grade
- Select = Yes
- Continue for each arm loading
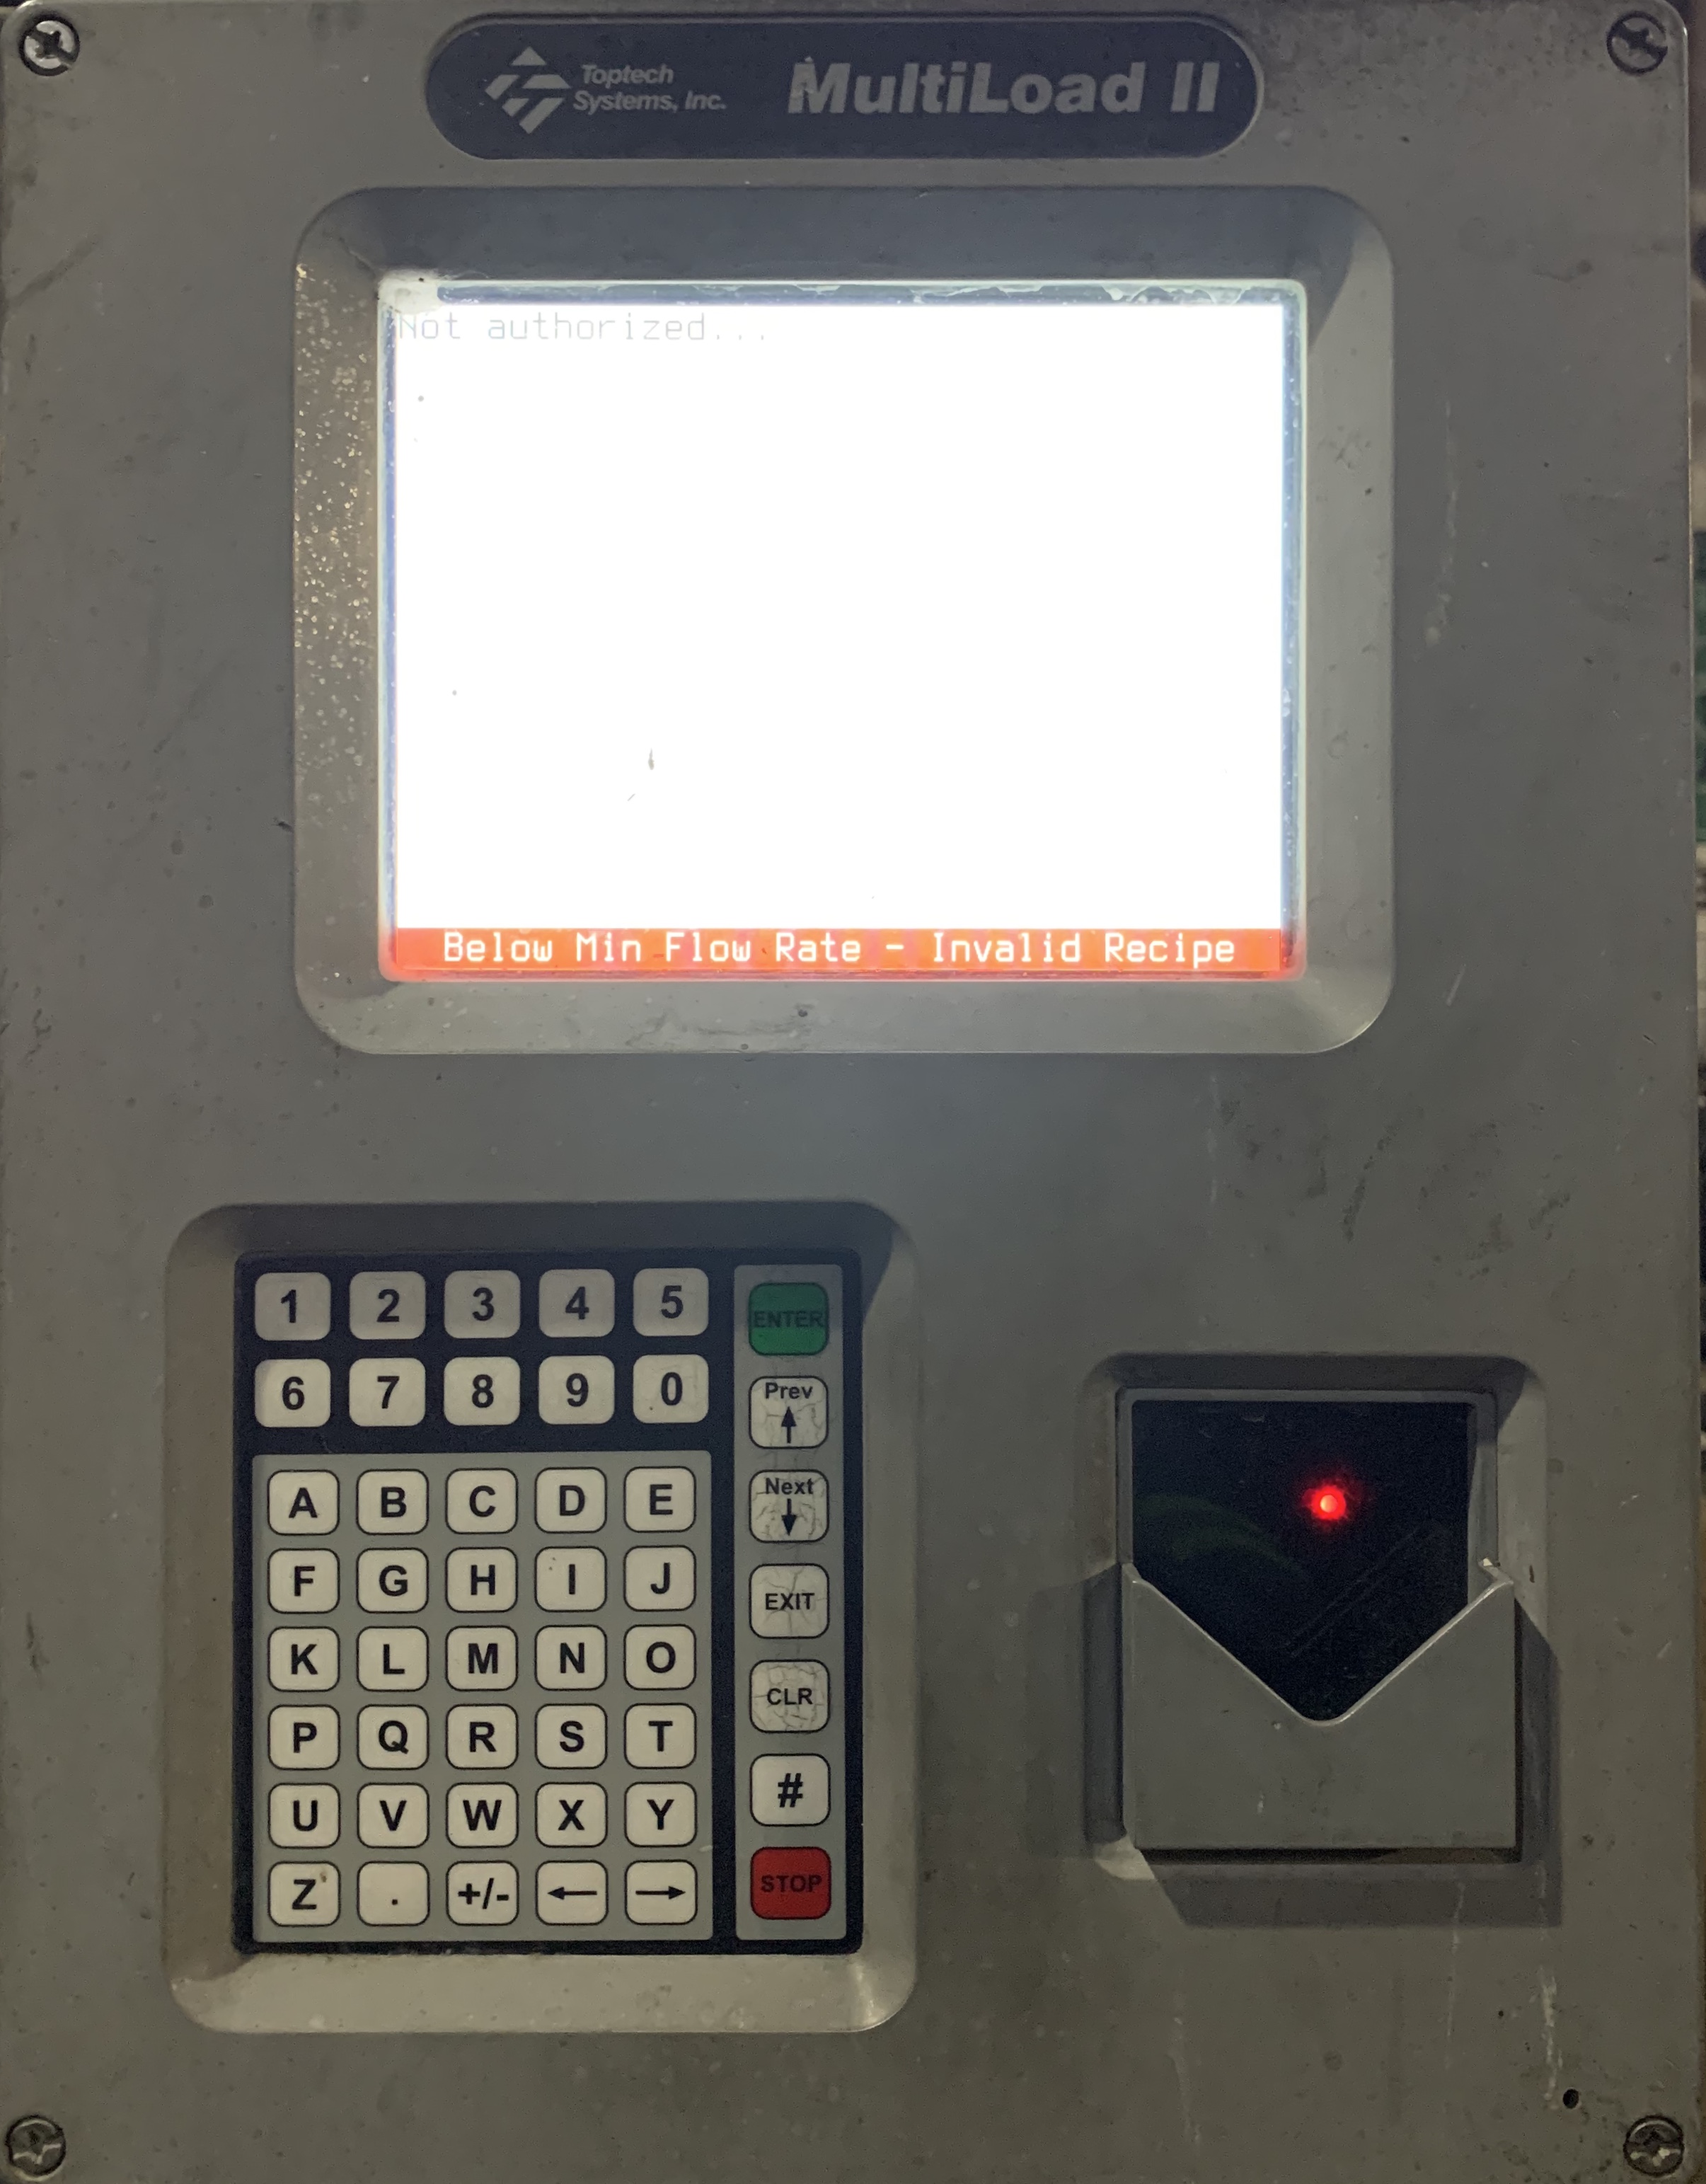 The Multiload Terminal Panel
will show the loading progress and advise you of when the loading is complete
Once the loading is complete, return to the Schneider Panel and press E and Enter to end the loading process
The Multiload Terminal Panel
will show the loading progress and advise you of when the loading is complete
Once the loading is complete, return to the Schneider Panel and press E and Enter to end the loading process
|
|
Now is a good time to visually inspect the truck and trailer for any defects
i.e. flats, leaks or abnormalities.
|
|
End Loading
|
-
Remove the loading hose from the trailer tank nipple
- Replace nipple caps
- Lower brake locking bar
-
Remove the vapor recovery flex hose from the trailer recovery nipple
- Press to close the belly valve
-
Remove the Skully Cable and replace the Skully Cable receptacle cap
-
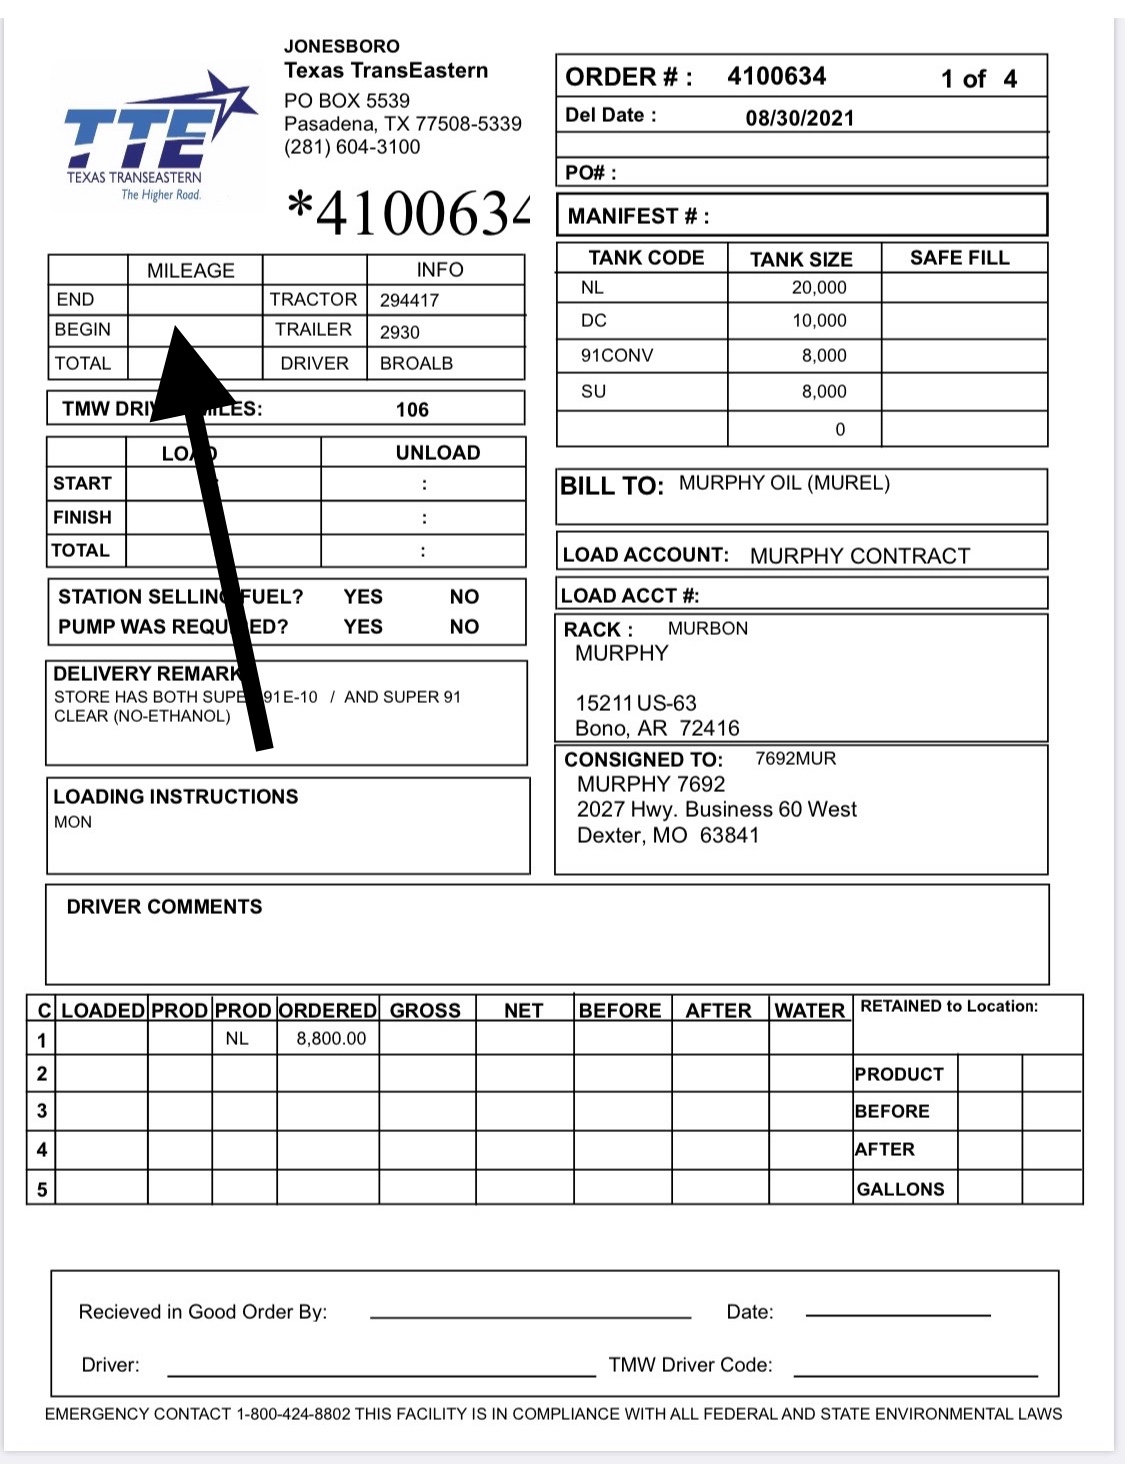
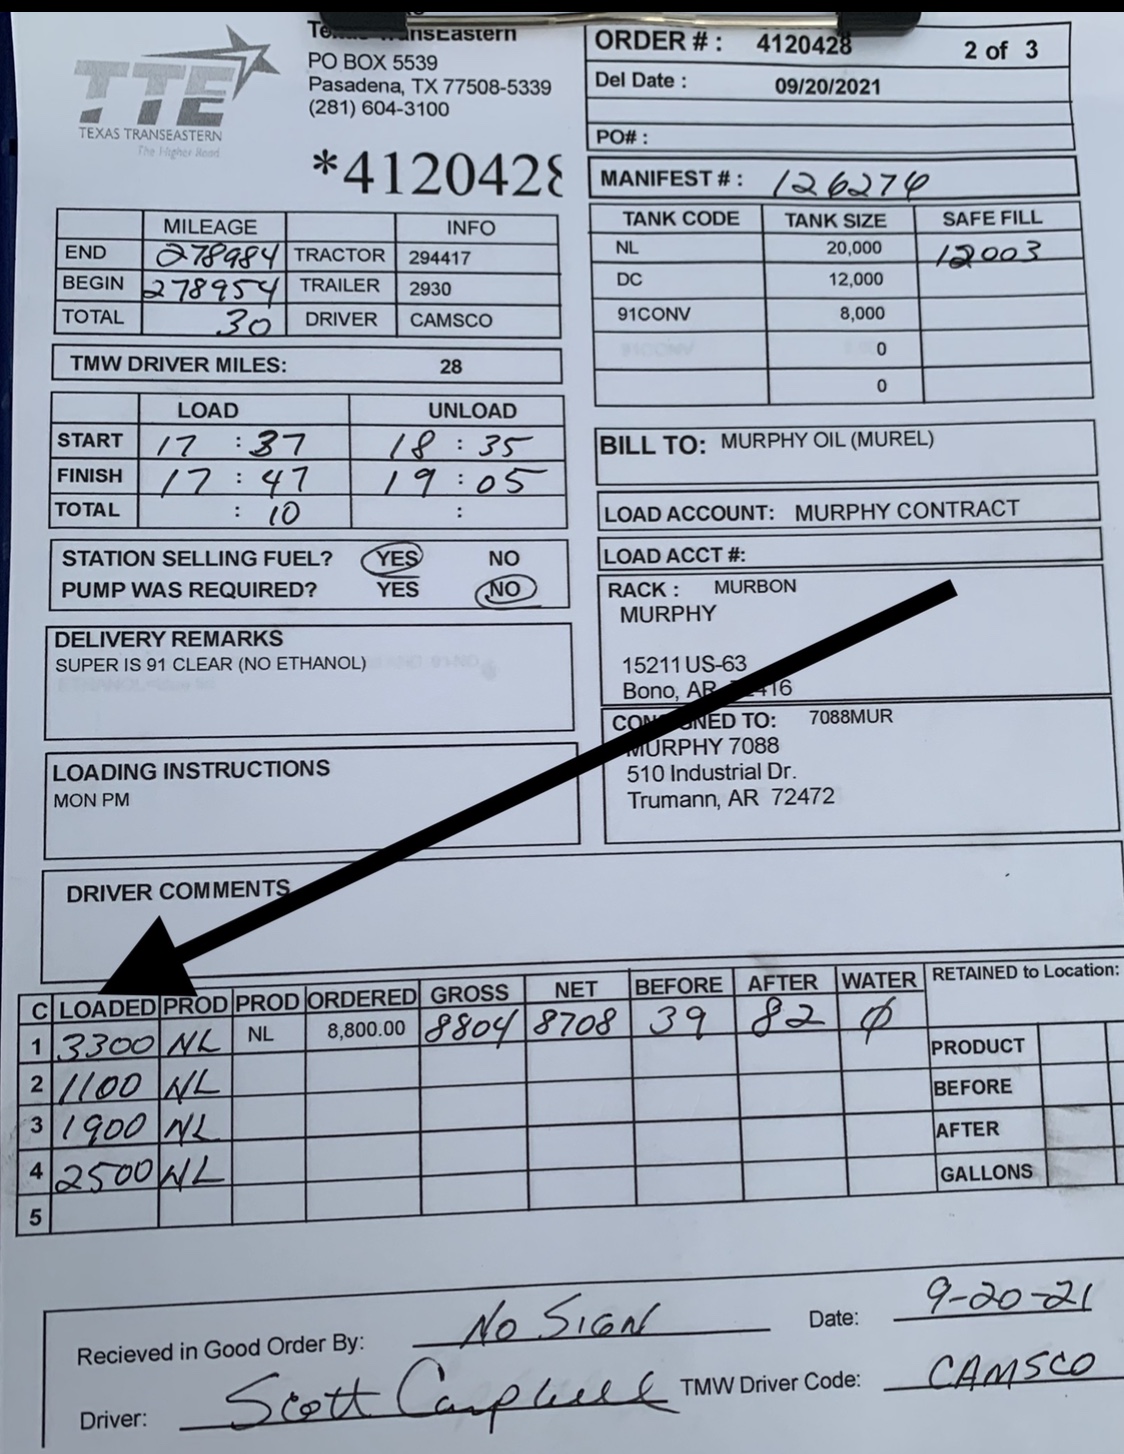
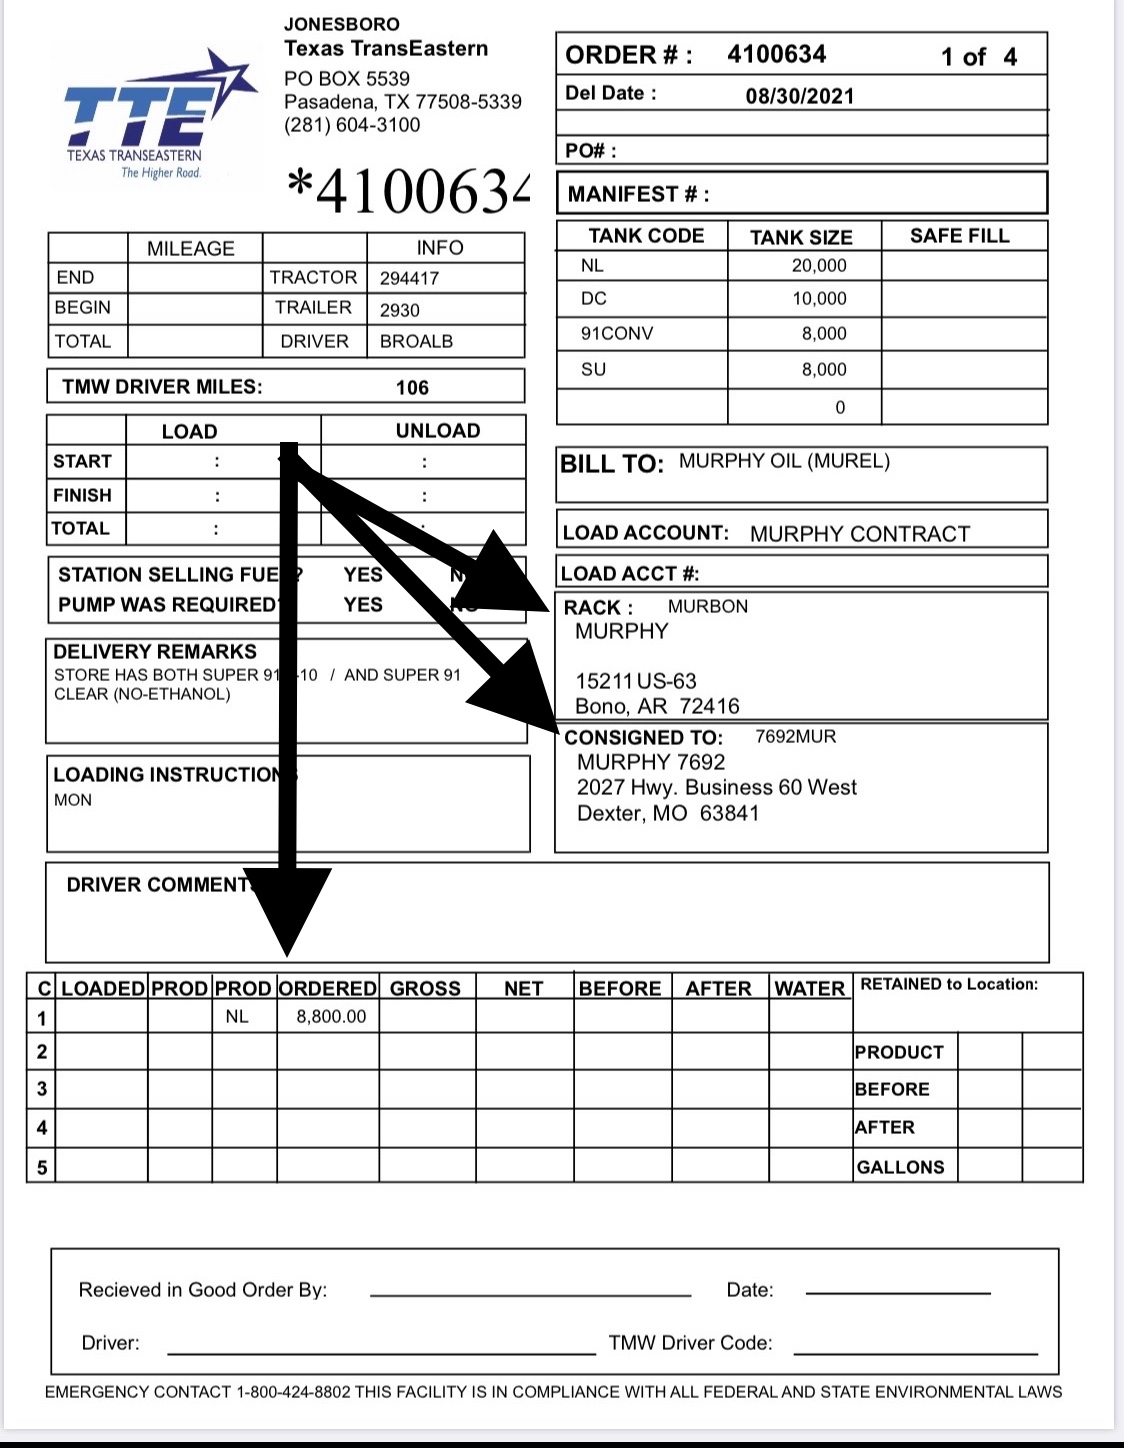
Pull forward to retrieve the BOL
|